We are frequently asked about the most essential dimensional measurement tools for a machinist that's just starting out. Hand tools are often the most effective solution for taking measurements. They offer versatility across a wide range of applications and, when used correctly, deliver highly accurate results.
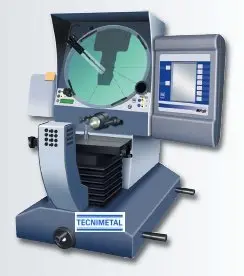
Optical Comparator
An optical comparator is a measurement instrument that projects a magnified image of parts to gather dimensional measurements and conduct inspection procedures. The part’s image is enlarged using light sources, lenses, and mirrors to facilitate 2-D measurements. This magnified 2-D image is displayed on a screen to evaluate whether the part's dimensions and geometry meet the required specifications. The optical comparator has been in use, in various forms, for nearly a century. Traditional optical comparators do not automatically generate digital data, though modern versions equipped with advanced digital systems can offer this capability.
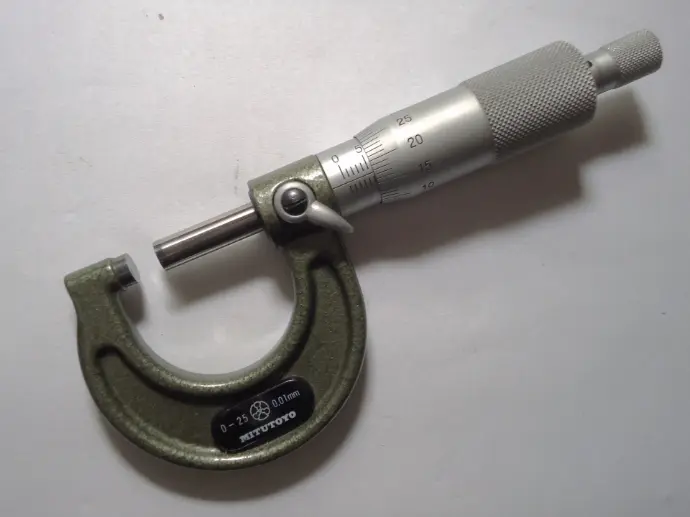
Micrometers
Micrometers are precision tools used to measure the size of a target by enclosing it between two measuring surfaces. Some models can even measure to the precision of 1 μm. While the term "micrometer" typically refers to outside micrometers, there are several other types designed for specific measurement needs. These include inside micrometers, bore micrometers, tube micrometers, and depth micrometers. Digital micrometers have become increasingly popular and are now widely used.
In the Imperial system, the spindle of a micrometer is graduated with 40 threads per inch, so one full rotation of the spindle moves it by 0.025 inches (1 ÷ 40 = 0.025), which corresponds to the distance between adjacent graduations on the sleeve. In the Metric system, a standard micrometer has a spindle with 2 threads per millimeter, meaning one full revolution moves the spindle by 0.5 millimeters. The sleeve is marked with 1-millimeter divisions and 0.5-millimeter subdivisions.
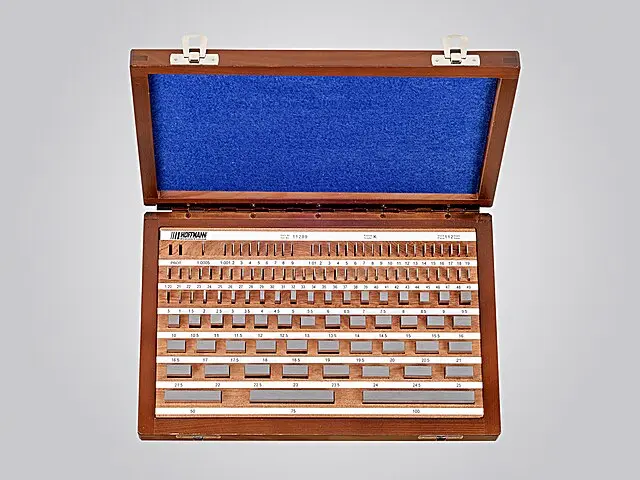
Gage Blocks
Gage blocks are a system used to achieve precise measurements of length. Each individual block is made of metal or ceramic and is precision-ground and lapped to a specific thickness. Gage blocks are typically sold in sets, with blocks of various standard lengths. To obtain a desired length, the blocks are stacked together.
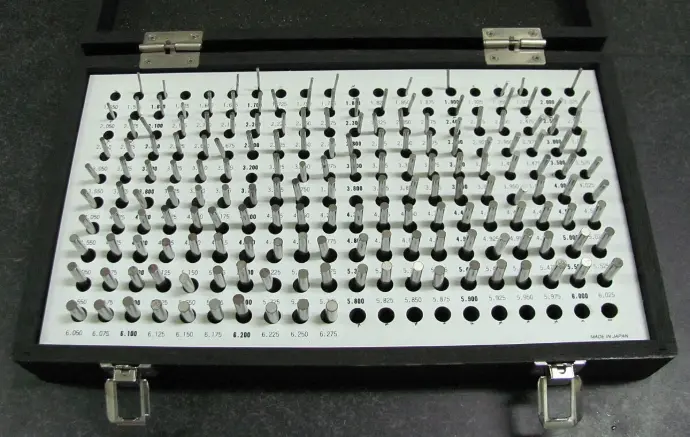
Pin Gages
Pin gages are used to measure the dimensions of bored features. They are often used together to create a "Go-No Go" gage, which quickly determines whether a bored hole meets the required specifications. Pin gages are particularly effective for checking the straightness of deep bores. They play a vital role in the quality control process in manufacturing, ensuring that parts are interchangeable between different processes or manufacturers. Rather than providing an exact size or measurement, pin gages indicate whether a part is acceptable (within tolerance and suitable for use) or unacceptable (outside tolerance and rejected).

Calipers
Calipers are precision instruments used to measure internal and external dimensions, as well as depths, with high accuracy. The examples shown include digital (LCD display) and dial (dial indicator) calipers, which display the measurements. Earlier versions, known as Vernier calipers, required users to read measurements by aligning a sliding scale with an imperial or metric scale, often requiring good eyesight or a magnifier to interpret the small markings. While digital calipers are popular for their convenience and ease of reading, conventional calipers remain in use due to their lack of reliance on a power source, as they don’t require batteries. Digital calipers offer the advantage of clearly displayed measurements and the ability to switch between metric and imperial units with the push of a button.
Thread Gages
A thread gage is used to measure the internal threads of a part and consists of a handle and one or more threaded gaging members, which can be single or double-ended. The "Go" gage checks the minimum major diameter and minimum pitch diameter of the thread, while the "No-Go" gage ensures that the threaded hole does not exceed the maximum pitch diameter size. The verification process involves threading the Go gage to the full depth of the feature without resistance, followed by the failure of the No-Go gage, indicating the part does not meet the maximum size requirement.

Height Gages
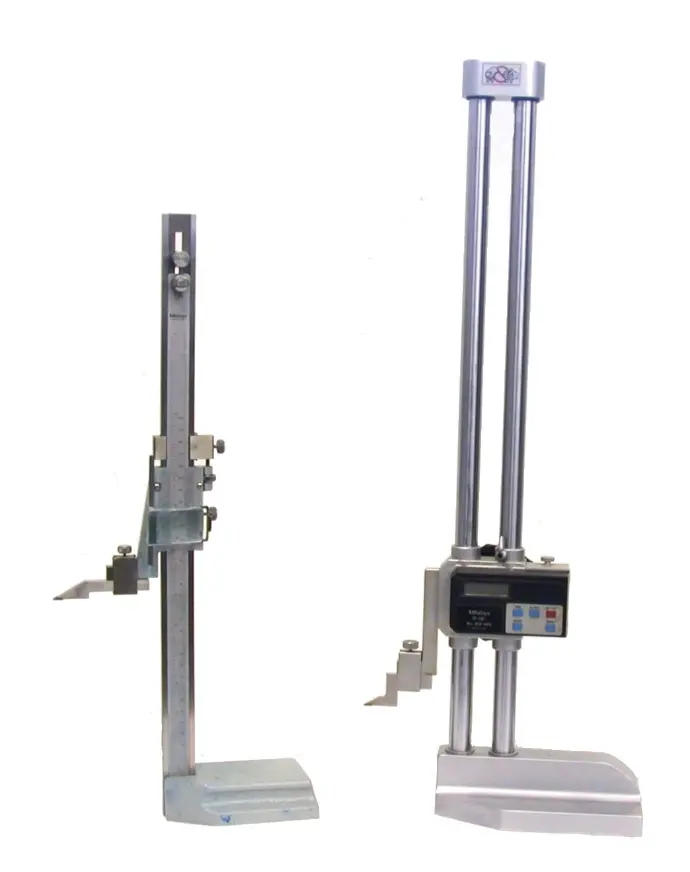
A height gage is a tool used to measure the height of objects and to mark items for further work. These instruments are designed to measure or set vertical distances, with the pointer often sharpened to function as a scriber for marking workpieces. Height gages can also measure an object's height by using the underside of the scriber as a reference point. Digital height gages provide direct readings of height measurements and allow for setting zero points at locations other than the reference surface plate. These gages are easier to read, as the measurement is clearly displayed, and users can switch between metric and imperial units by pressing the inch/mm button. Dial height gages, on the other hand, use a dial indicator to set the measurement height, with a mechanical dial and needle pointer for easy reading. Height gages are often used alongside indicators (as shown below) in place of the scriber for additional precision.
Indicators
Indicators are precision instruments used to measure small distances and amplify them for clearer observation. The term "indicator" reflects the tool's ability to reveal details that are difficult to see with the naked eye, such as subtle height differences between two flat surfaces, minor concentricity issues between two cylinders, or other small physical deviations. These tools are commonly employed to check tolerance variations during the inspection of machined parts, as well as in other applications where precise measurements need to be detected or indicated. Indicators are frequently used in combination with height gages for added accuracy.

1-2-3 Blocks
1-2-3 blocks are commonly used in machining, particularly in milling, to assist with setup. These blocks, typically made of hardened steel, are standard shop tools with dimensions of 1" thick, 2" wide, and 3" long. They are precision ground to exact sizes and orthogonal geometry, with tolerances as tight as 0.0002" (5µm), making them reliable as setup standards on the shop floor. They are designed for durability, allowing them to be used without concern for delicacy during setups. Some versions may feature arranged holes. Larger versions of these blocks are referred to as 2-4-6 blocks.
